In This Tutorial, You’re going to Learn How to Create Password-Protected Folder on Windows PC with the help of Batch Programming.
Follow Steps:
cls @echo off title Folder Locker IF EXIST "Control Panel.{21EC2020-3AEA-1069-A2DD-08002B30309D}" GOTO UNLOCK IF NOT EXIST Locker GOTO MDLOCKER echo Folder Created. :CONFIRM echo Are you sure you want to lock the folder? (Y/N) set/p "cho=" IF %cho%==Y GOTO LOCK IF %cho%==y GOTO LOCK IF %cho%==N GOTO END IF %cho%==n GOTO END echo Invalid Choice. GOTO CONFIRM :LOCK ren Locker "Control Panel.{21EC2020-3AEA-1069-A2DD-08002B30309D}" attrib +h +s "Control Panel.{21EC2020-3AEA-1069-A2DD-08002B30309D}" echo Folder Locked. GOTO END :UNLOCK echo Enter password to unlock the Folder : set/p "pass=" IF NOT %pass% == Googlearner.com GOTO FAIL attrib -h -s "Control Panel.{21EC2020-3AEA-1069-A2DD-08002B30309D}" ren "Control Panel.{21EC2020-3AEA-1069-A2DD-08002B30309D}" Locker echo Folder Unlocked Successfully. GOTO END :FAIL echo Invalid Password! GOTO END :MDLOCKER md Locker echo Folder created. GOTO END :END |
1 Copy This Code. This is a Batch Programming code can be accessed on Windows Platform, copy this entire code.
2 Open Notepad. Type in Search, Notepad then you will see Notepad icon in the list of the programs, Click on it to open the notepad.
3 Paste the code and save as Text File. Paste the entire code into the notepad and save the file in .txt text format.
4 Right Click on File >>Rename. This step is a part of the next step. Right-click on the Text File and click on Rename.
5 Change File Extension From .txt to .bat . This is an Important step, .bat extension is needed to run a batch programming code on a windows system. The code will work on windows after changing the file extension.

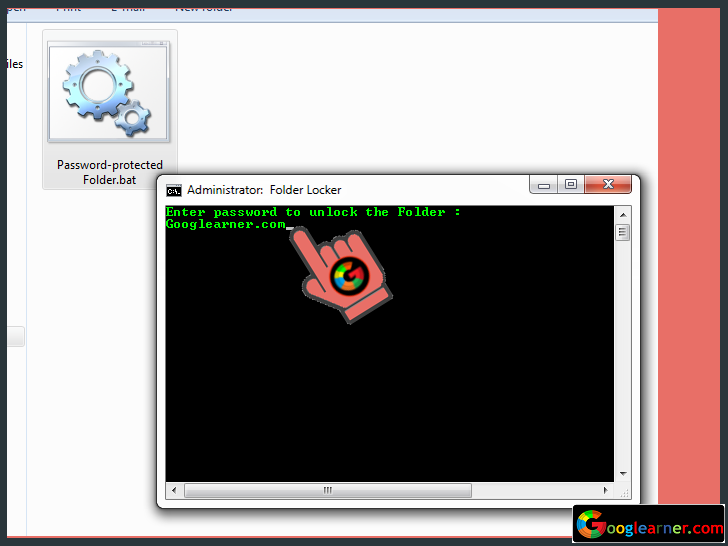
6 Double Click on the File >>Enter Password. Double click on the Password-Protected.bat File then a command prompt window will open, Enter the Password and hit Enter key.
Note: The Default Folder Password is Googlearner.com (You can Easily Change the default Password, Right Click on File >>Edit >> Replace Default password with your own password)
7 Locker Named Folder is Visible Now >>Put your Private Data into it. After Entering the Password, Locker named Folder will Visible.
8 Hide "Locker" Folder. After Using Locker named Folder, double-click on the File again then you will see a new command prompt window. Type Y and hit Enter key.
That'it. Now you can Hide your Private Data without the help of any third party software.


